Enjoy the cafe &
stay a while
Summer Seasonal Menu
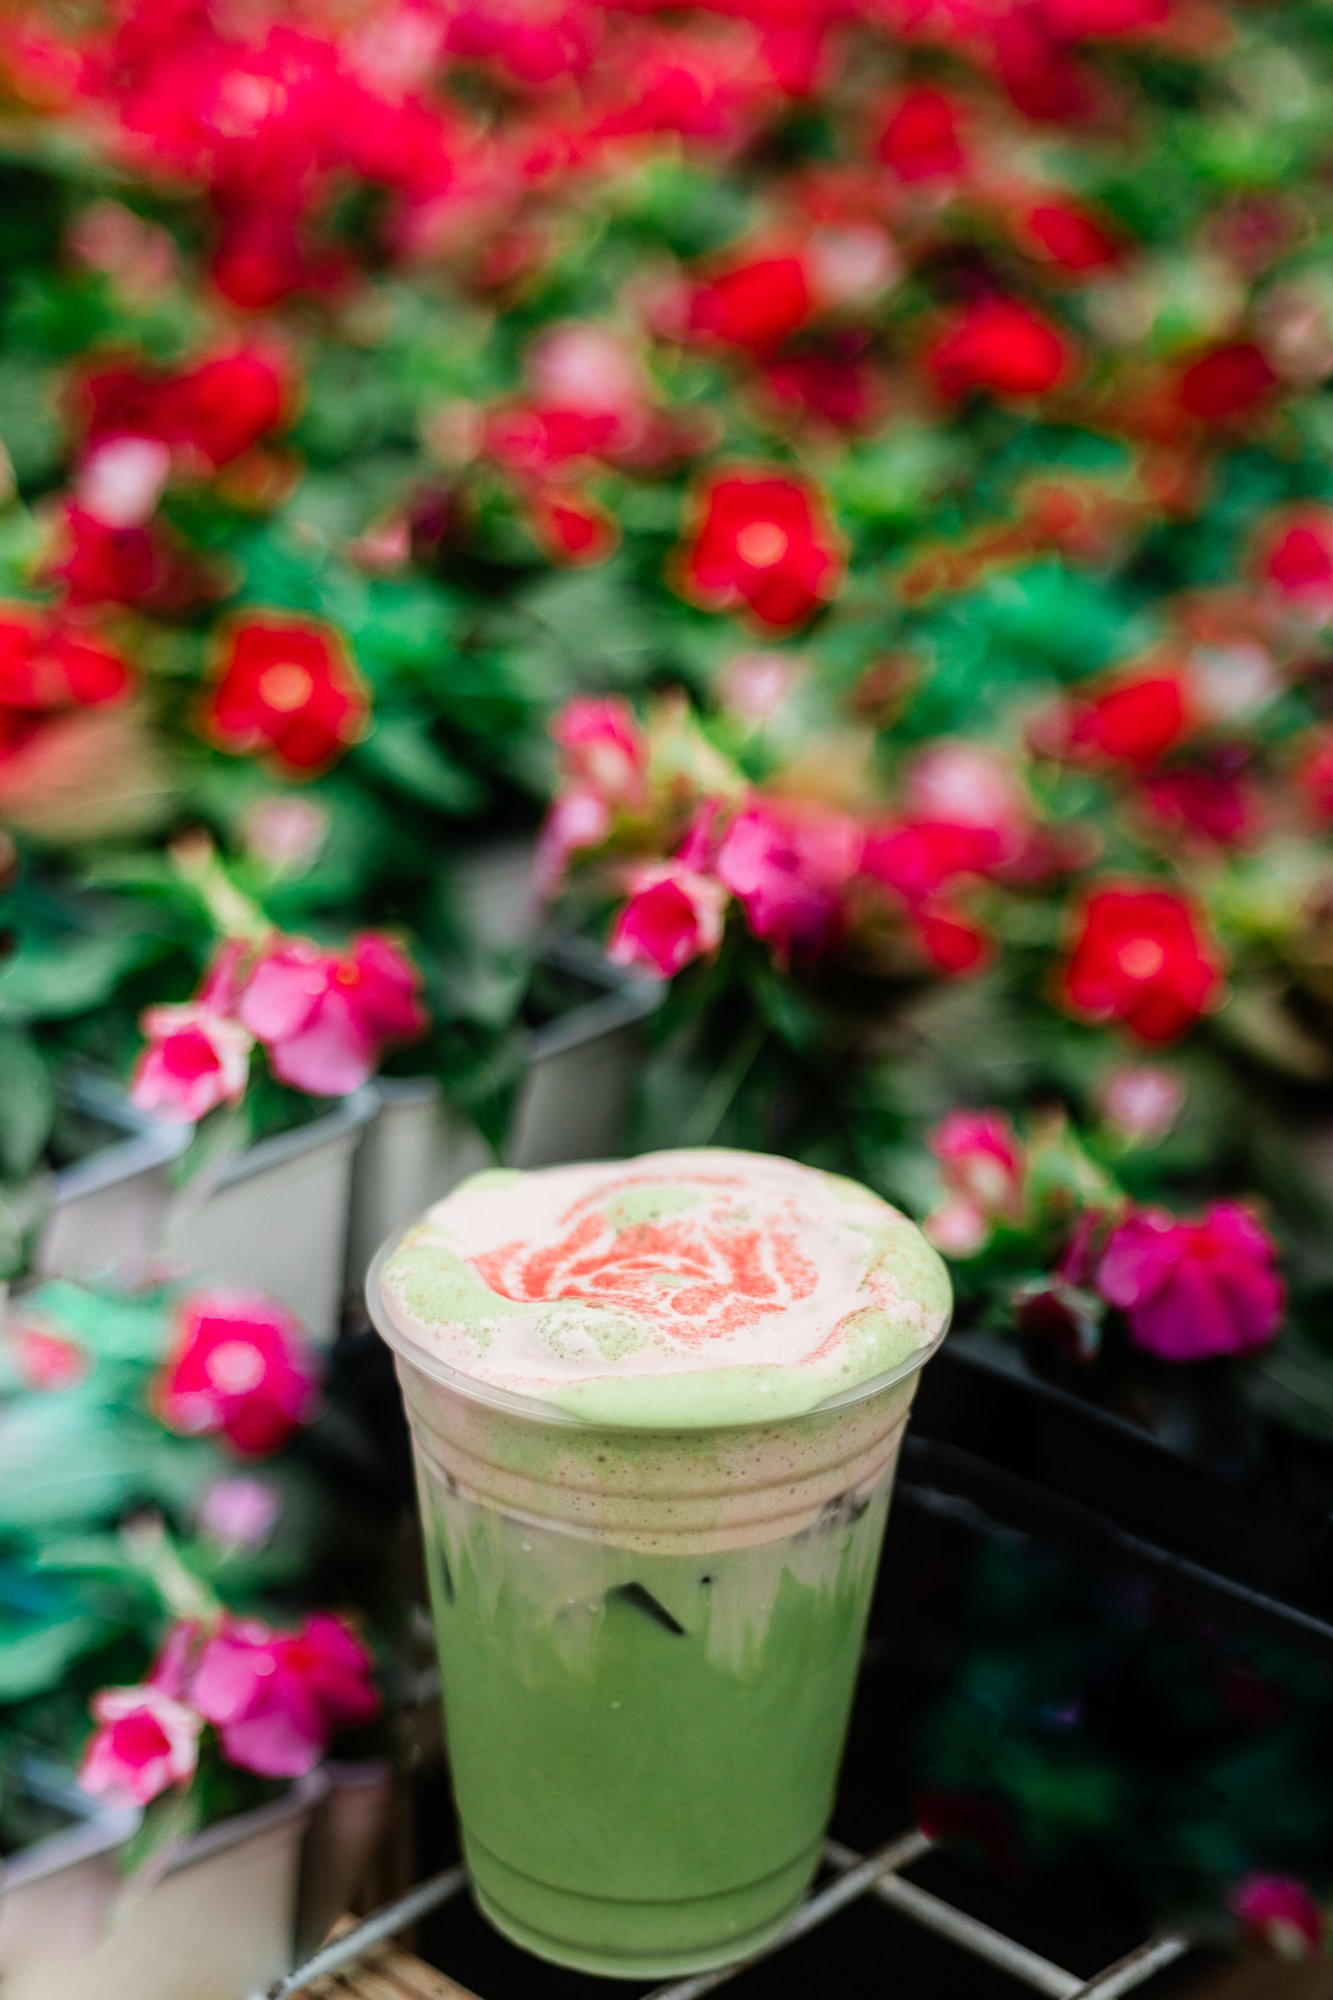
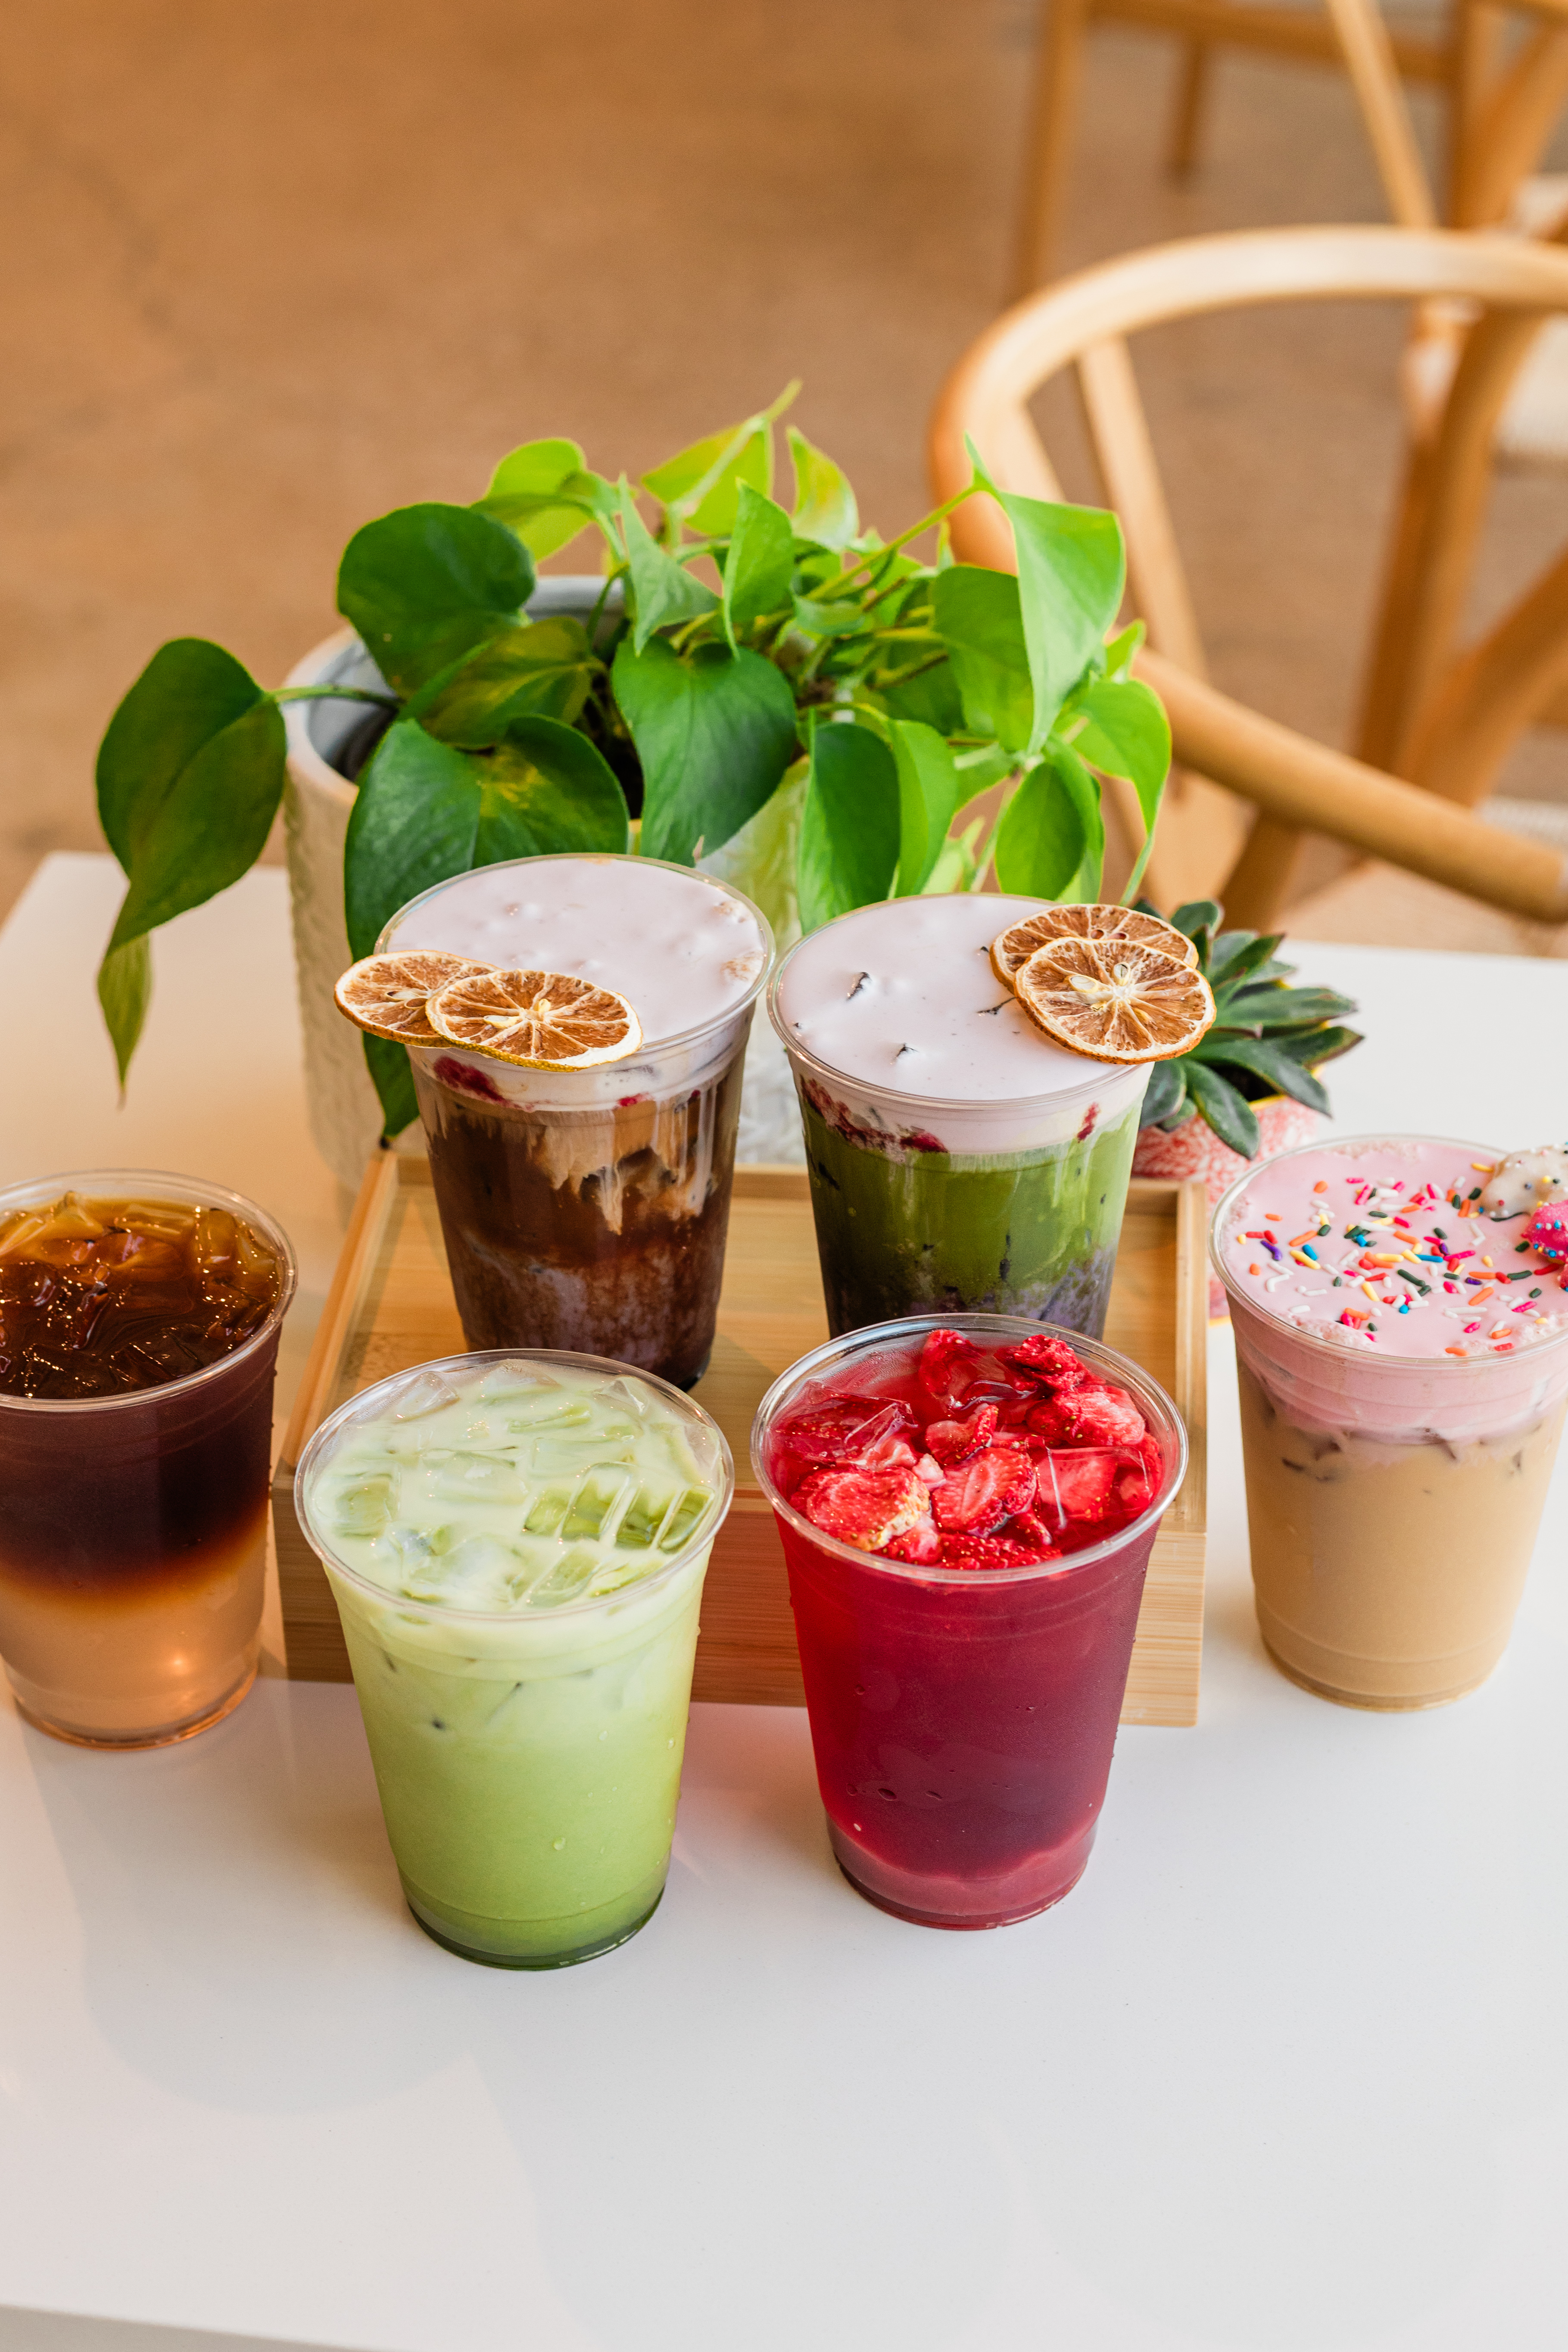
Enjoy a new seasonal lineup for summer at Ralph & Rose! New additions include: Lemon Blueberry Latte (Espresso or Matcha), Animal Cookie Latte, Earl Grey Matcha, Coconut Cold Brew, and Strawberry Hibiscus Refresher. Stop by 9am-6pm to grab a drink that will help you beat the heat.
Visit Ralph & Rose

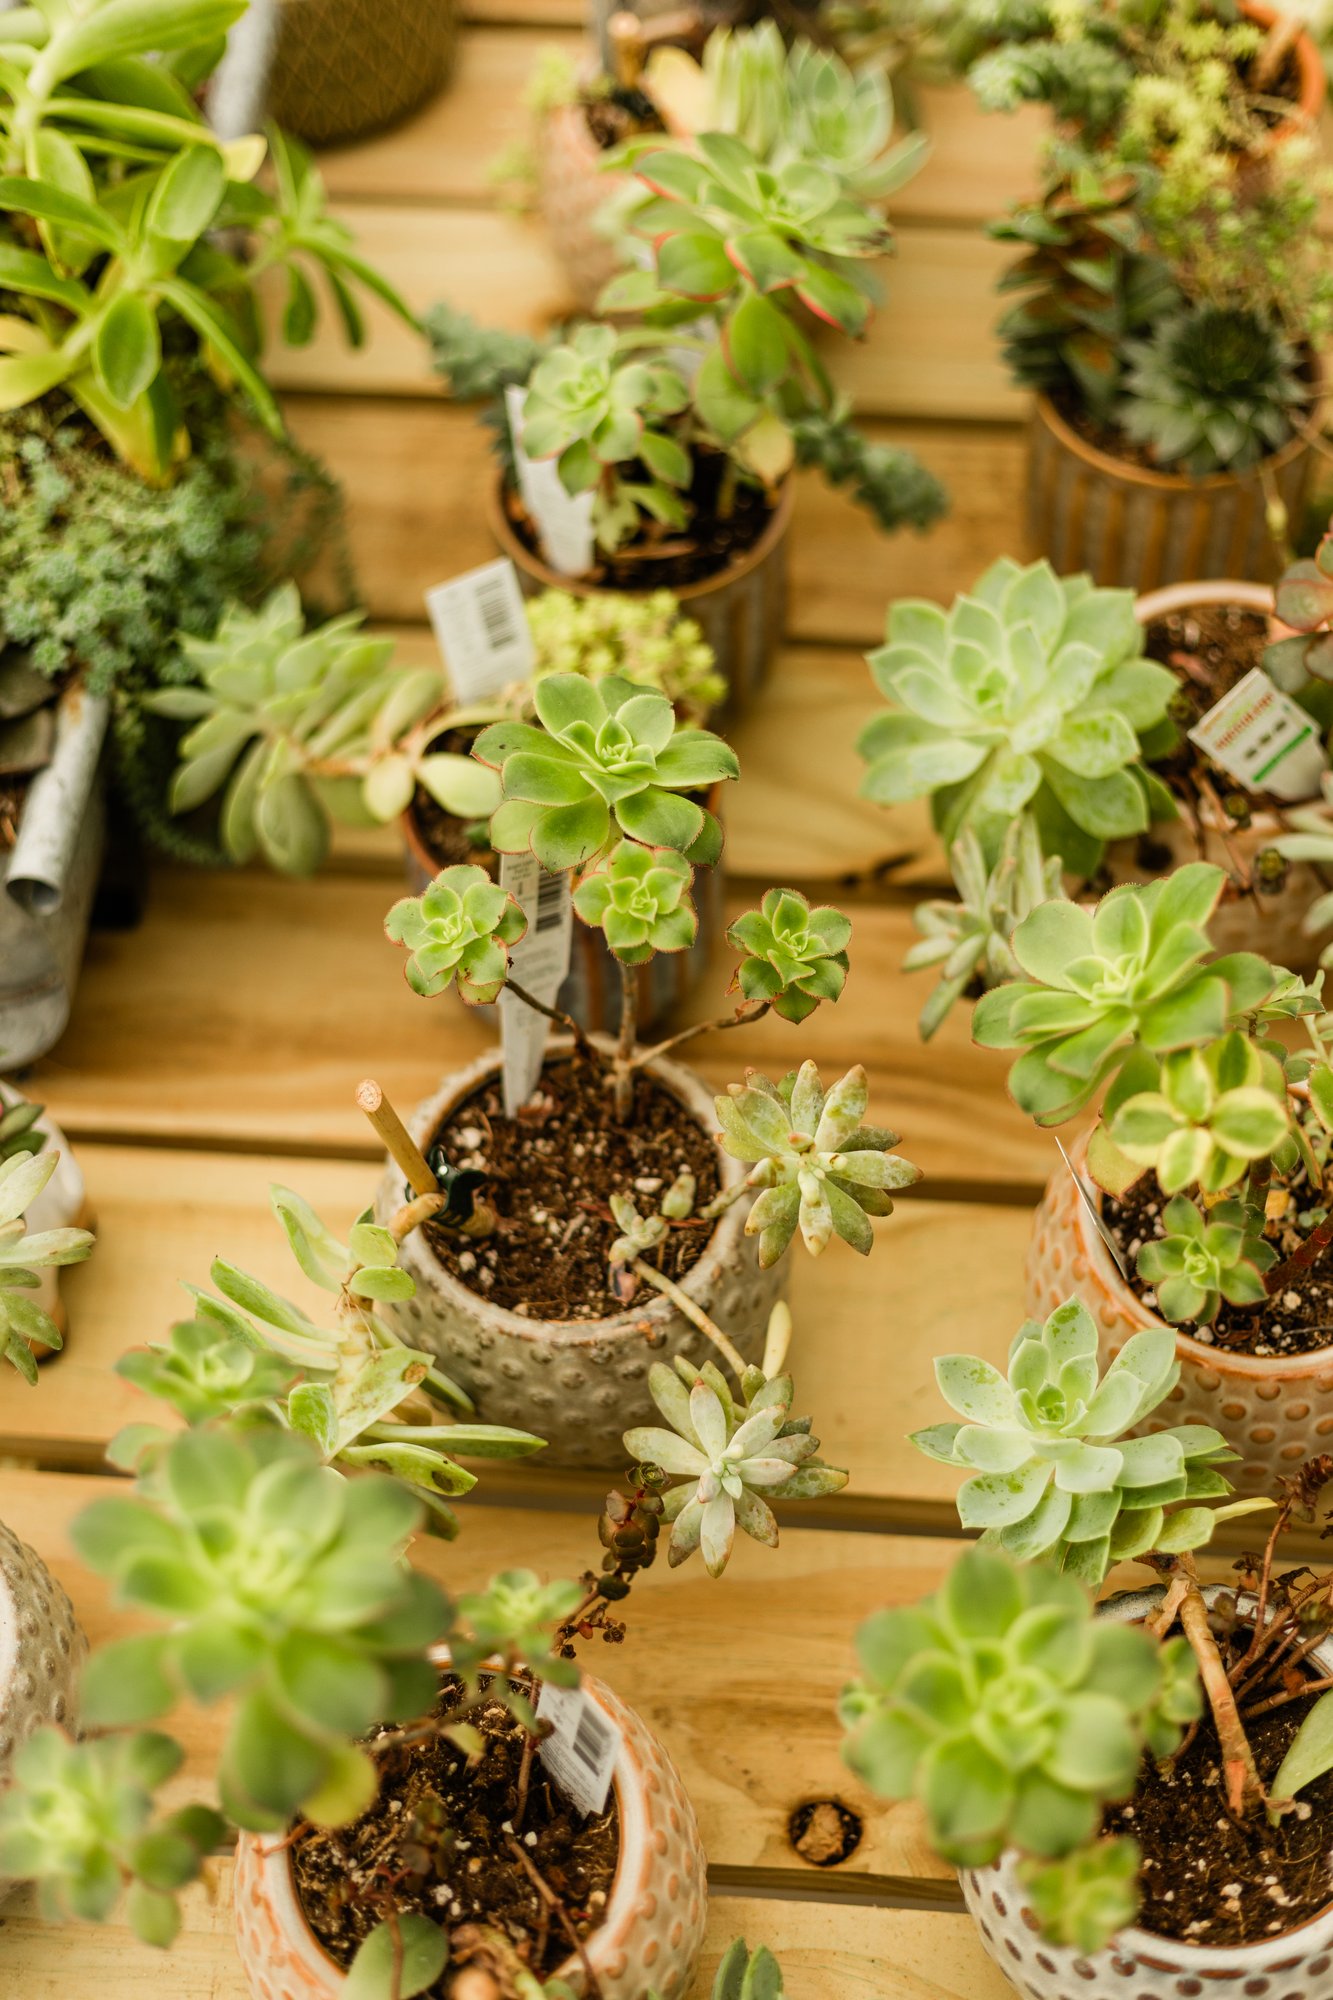
Was screaming inside at the variety and size option they had. It's usually hard to find saplings and young versions of fruit and tropical plants. WARNING bring cash and leave your wallet if you're on a budget as it is very tempting. I left with a trunk full to add to my dirt-y hobby. -Cisme A.