The Complete Guide to Growing Potatoes in Texas
Growing potatoes in north Texas is easy! This will give you the key points to know when planning to plant and harvest potatoes.
- Compost—Provide the softer, looser soil potatoes require and organic matter with compost. Vital Earth Organic Compost is ideal to provide nutrients and soil aeration.
- Pine Straw Mulch—The lighter, slightly acidic qualities of this mulch is best for potatoes.
- Container—Larger containers work well but must drain freely. Plastic nursery containers with their multiple holes are good. Allow 2 gallons of container size for each seed potato.
- Fertilizer—Try an organic food for edibles, such as Espoma’s Garden‐tone.
- Dusting Sulfur—This will acidify the soil conditions and help protect them from rotting.
When to Plant Potatoes in Texas
If you’re planning to plant potatoes here in Texas you’ll want to make sure you get the timing right. Irish potatoes are cool season crops. In north Texas, potatoes such as these are planted directly outdoors in the month of February. If planted too early, the tender shoots will freeze and your potatoes plants will not grow. For more information on when to plant potatoes and other vegetables in Texas, refer to our seasonal planting guide.
How to Plant Potatoes in Texas:
WHERE TO PLANT POTATOES:
Full sun for at least 6 hours or more per day is best, in an area with excellent air circulation. This is a crop that must have perfect drainage, along with a slightly acidic soil. If you can practice crop rotation, grow potatoes in a different spot every 3 years or so.
SELECT THE RIGHT POTATOES FOR A TEXAS GARDEN:
Potatoes are best planted by using a ‘seed potato’, which is just a smaller potato (and not actually a seed). You can buy starts bulk, or whole potatoes, and packaged, typically smaller potatoes, so select according to the available variety you wish to grow. Here, we can grow different varieties of red, yellow, or white-fleshed potatoes. Generally red varieties store longer than whites, while most white varieties will have better cooking attributes than reds.
PREPARATION STEPS:
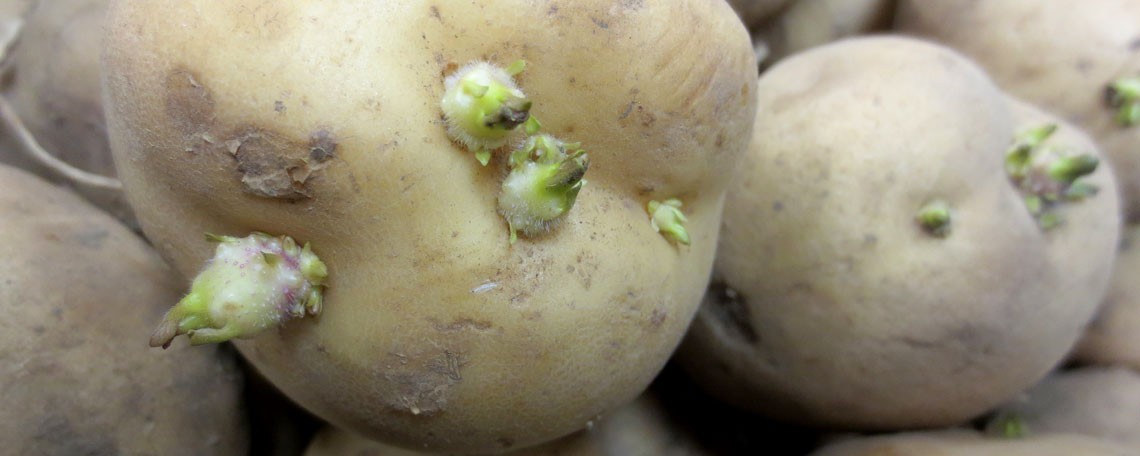
- Potatoes should have some ‘eyes’ already sprouting on them. If they don’t, set them in a warm, moist place in your home for a few days until these tiny sprouts begin to grow.
- You can simply plant the smaller seed potatoes whole as they are, unless you want additional plants. Lightly dust with dusting sulfur to help prevent rot, and plant.
- For more plants, use larger potatoes. These should be cut up into sections, large enough so that each has 2 or 3 ‘eyes’ (sprouts) per section. A golf ball to medium egg size is good. Lay these out on paper in a cool, dry place to allow the cuts to scab over for 2 or 3 days.
- When dry, lightly dust with the sulfur to further dry them, and they can be planted.
PLANTING POTATOES IN GROUND:
- In the garden, dig a trough in well‐amended soil about 6‐8” deep and about 4” wide. Work the fertilizer into the soil, and water in.
- Plant the seed potatoes about 8‐12” apart, making good contact with the loose soil.
- Cover the seed potatoes with about 4‐6” of just compost or the soil mix. Do not water again until sprouts begin to show. Sprouts usually start to emerge in a few weeks.
PLANTING POTATOES IN CONTAINERS:
Plant potatoes in a large container. Any container you use must drain very well. Plant in a mix of 50% compost and 50% pinestraw, adding the fertilizer. Note that typical potting soils are NOT recommended. These generally hold too much moisture, and can induce rot.
- Start the container with the mix of pinestraw and compost, filling to only about 1/3 full.
- Plant about 8‐12” apart. You can plant closer, but the resulting potatoes will be smaller.
- Container growing is the same from here as outlined below.
THE PROPER CULTURE FOR POTATOES:
As stems grow and begin to emerge 6‐8” through the pine straw, backfill the trough with only about a 4” mixture of the amended soil and pine straw, creating a very loose mound over the trough. This is where the potatoes will begin to form. You’ll probably need to do this “hilling” 2 or 3 more times, allowing the shoots to gain another 6‐8” each time. Continue this process as leaves grow until all soil is used. This creates a layer where the potatoes will develop, and keeps them from turning green and becoming inedible.
- During the growing season, side dress once more with organic fertilizer to maximize yield.
- Moisture management is key to potato success in our area. Be careful not to overwater if good rainfall occurs in spring, and never let plants completely dry out or sit in water. Always water plants early in the day so moisture does not sit on the foliage overnight. If you see spots on the leaves forming, treat with an organic fungicide immediately. In a wether spring, it may be necessary to follow up several times treating at 7‐10 day intervals.
When to Harvest Potatoes in Texas
When the plants begin to flower, this is when potatoes are forming. Begin to reduce watering. As plants turn yellow, stop all watering.
- ‘New’ potatoes are those harvested early, a week or so after flowering, but these are thinner‐skinned, and do not store well. If you harvest early, be sure to replace the backfill.
- Small potatoes can be harvested about 2‐3 weeks after flowering; typically in May. For larger potatoes, harvest 2‐3 weeks after the foliage has died down completely. Dig potatoes up carefully, starting 8‐10 inches away from the plant. Handling them carefully, pull the potatoes from the plant, leaving any soil on them— do not wash. Store at 50‐60 degrees in a dry place away from sunlight to allow them to cure.
Get Help Planting Potatoes in North Texas
See a Garden Advisor at North Haven Gardens in Dallas, TX for additional help to be the most successful with potatoes. They can help you plan your garden and choose the right plants and supplies to make sure your crops flourish.
